Redis is an open-source, in-memory data storage tool used by millions of developers as a cache, vector database, document database, streaming engine, and message broker. If you want to install Redis on your system, you are in the right place. In this article, we will explain the easiest way to install Redis on your system.
Where is Redis used ?
Thanks to its high performance, Redis is used to save data in cache (RAM). You can also use Redis to cache high-traffic pages. Since once cached data is no longer read from the disk but from the RAM, the reading speed performance increases at an admirable rate. Redis database is generally used in the following situations.
- In cases where your application changes dynamically very frequently, such as user roles and permissions and session information, and you do not want the user to constantly go to the database.
- As a message distributor in online messaging systems such as Chat.
- In statistical operations such as site traffic data collection.
- To keep statistics of failed logins.
- To keep the temporary code in cache after users are sent codes such as forgot password or reset code.
- To impose a security measure such as a rate limit on your API application.
- To create a sorted list of scores in a game project using the Redis Sorted Set data structure.
- or even as a message broker like RabbitMQ.
Installation
Before installing Redis server on Ubuntu, use the following command to update the system and all dependencies.
sudo apt updateRedis Server package data is available in Linux’s apt (Advanced Package Tool) repository and Redis can be installed on Ubuntu using the following command.
sudo apt install redis-serverAfter Redis installation, check the status of the service and whether it is running or not. So run the command below.
sudo service redis status● redis-server.service - Advanced key-value store
Loaded: loaded (/lib/systemd/system/redis-server.service; enabled; vendor preset: enabled)
Active: active (running) since Sat 2024-02-24 14:24:02 +03; 4h 19min ago
Docs: http://redis.io/documentation,
man:redis-server(1)
Main PID: 963 (redis-server)
Status: "Ready to accept connections"
Tasks: 5 (limit: 4554)
Memory: 5.6M
CPU: 13.571s
CGroup: /system.slice/redis-server.service
└─963 "/usr/bin/redis-server 0.0.0.0:6379" "" "" "" "" "" "" "" "" "" "" "" "" "" "" "" "" "" "" ">
If you want the redis server to start automatically every time you restart your system, run the command below.
sudo systemctl enable redis-serverLocal Environment Configuration
When you use Redis as a cache, you need to change some parameters in the default configuration file located in /etc/redis/redis.conf. Since there will be no need for operations such as setting a password in the Redis Configuration for your local server, it will be sufficient to make the following settings. Run the following command to edit in the terminal.
vim /etc/redis/redis.confThe following settings will allow you to access Redis from a remote computer without any password.
bind 0.0.0.0
protected-mode no
After the changes made, you will need to restart the Redis server.
service redis-server restartProduction Environment Configuration
For security reasons in the production environment, we recommend that you close the Redis server to the outside or use it with a VPN. And you should definitely set a password. The following ip address configuration only allows access to the Redis server from the local server and denies remote access requests.
bind 127.0.0.1 ::1
protected-mode yes
Find the Require pass line and write your password in the value opposite it.
requirepass write_your_secure_passwordPHP Redis Extension Installation
If you want to use the Redis server with PHP-based applications, you must install the PHP Redis module using the command below. Before installing the module, PHP must be installed on the system.
sudo apt install php-redisRun the command below to activate Redis module PHP.
sudo phpenmod redisIf you want to disable the module, try the following command.
sudo phpdismod redisMultiple Php Versions
If you have multiple PHP versions on your system and need to activate the PHP Redis extension for another version, follow the steps below. In this example; We assume that you have Redis installed for PHP 8.1 on your system and that you need to activate Redis for PHP 8.2.
sudo apt-get install php8.2-redisphpenmod -v 8.2 redisTest Redis Connection
You can test whether the Redis server is working properly using the Redis CLI, run the command below.
redis-cli ping// PONGSome Useful Redis-Cli Commands
redis-cli info statsredis-cli info serverYou can use the following command to list all registered data keys on the Redis server.
redis-cli --scan --pattern '*'oloma:policies:privacy-policy:tr
oloma:policies:privacy-policy:en
oloma:policies:end-user-license-agreement:en
oloma:policies:data-protection-and-processing-policy:en
oloma:policies:cookie-policy:en
oloma:policies:gdpr-information-text:en
demo_app:App\Model\PermissionModel:findPermissions
tr_oloma_news_feed_data
en_oloma_news_feed_data
The following command will quickly solve your problem to delete/clear all saved cache on the server.
FLUSHALLRedis Auth
It is not possible to run redis commands in a production environment without authentication. For this you need to use the auth command.
auth your-passwordRedis Desktop Applications
Finally, let’s talk about desktop applications with a visual interface that will allow you to easily manage your Redis database.
Resp.app
If you are using Windows, you can connect to the redis server locally or remotely with the resp.app application, which has an easy interface, and you can view the data you have created in the database in different formats with this free application.
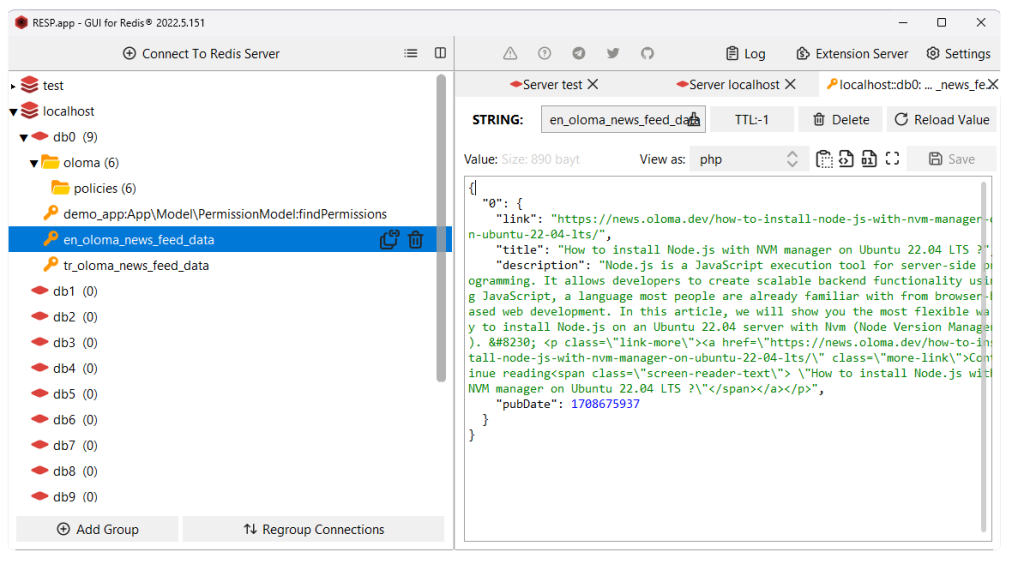
You can download the resp.app application from the Microsoft store for Windows operating systems from the link below.
https://apps.microsoft.com/detail/9ndk76zvz3tm?hl=en-US&gl=TM
RedisInsight
RedisInsight Developed by Redis; A redis interface with advanced features that can also run on operating systems such as Windows, macOS (including M1), Linux.
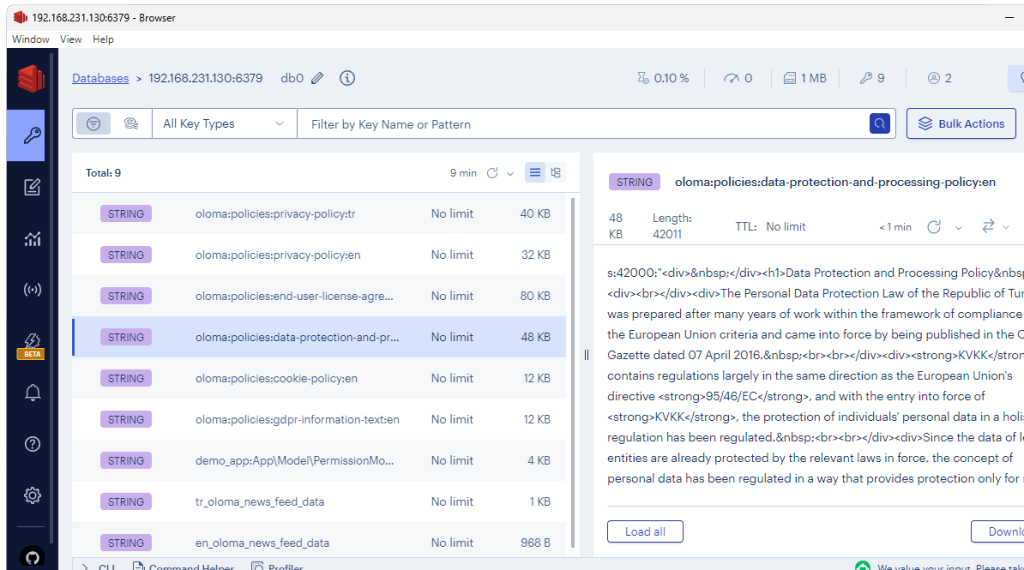
You can download the RedisInsight application from the following link.
https://redis.com/redis-enterprise/redis-insight/
Conclusion
Redis Server is an open source software used mainly for data storage and object caching. As we mentioned above, Redis Server can be easily installed on Ubuntu/Linux operating systems. In this article, you have installed and configured Redis, verified whether your Redis installation is working properly, and completed the Redis installation steps safely for the production environment.
Note that once someone logs into your server, it is very easy to bypass the Redis-specific security features we have implemented. Therefore, the most important security measure on your Redis server in the production environment is access to the server through a firewall or a private network such as a VPN.